
Beginner's Guide to SyncBackPro install and Profile setup
Author: Conrad Chung, 2BrightSparks Pte. Ltd.
This is a beginner’s guide to installing the backup and synchronization program, SyncBackPro, as well as creating, setup and scheduling your first profile. Although this guide is based on SyncBackPro, users can reference this guide when installing/using SyncBackSE and SyncBackFree.
Installation
To begin, download the SyncBackPro installer from 2BrightSparks Downloads page:
www.2brightsparks.com/downloads.html
Note that you can also download other installers for SyncBackSE, SyncBackFree and various utilities/software by 2BrightSparks from the above link too.
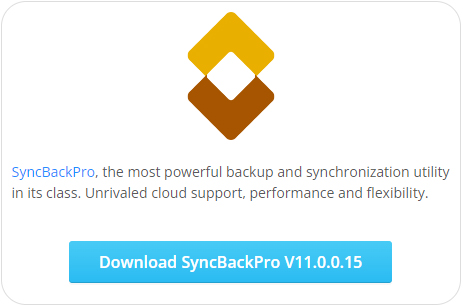
At the Downloads page, click on the Download SyncBackPro button to be taken to the downloads page. There are two different installers:
- One for Administrators that installs SyncBackPro for All Users.
- One that can be used by Administrators or Standard Users that can install for All Users (if you are an Administrator) or just for yourself.
There are also 32-bit and 64-bit versions. We recommend you use the 64-bit Administrator version.

Once the download completes, locate the downloaded file and double-click on it to start the installation. If you downloaded the installer that a Standard User can use (e.g. SyncBackPro64_Setup_NE.exe), and SyncBack is not already installed, then you will first be prompted to choose the install mode:
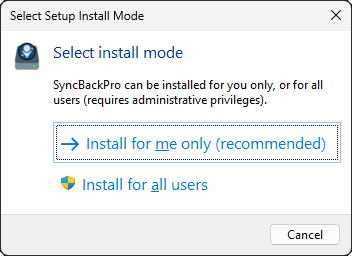
If you are an Administrator we recommend installing for all users. This provides the most functionality with no restrictions. If you are a Standard User (i.e. not a Windows Administrator) then you have no choice but to install for yourself only. That does mean certain functions will not be available.
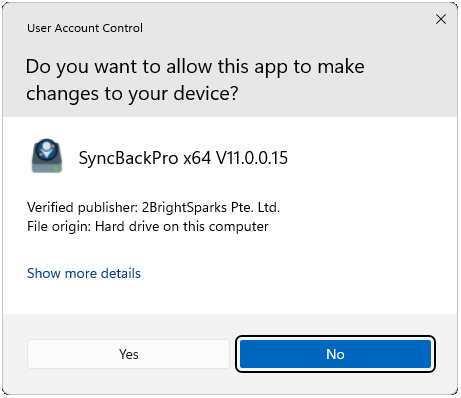
If you are installing as an Administrator then you may be prompted by User Account Control window, click Yes to proceed.
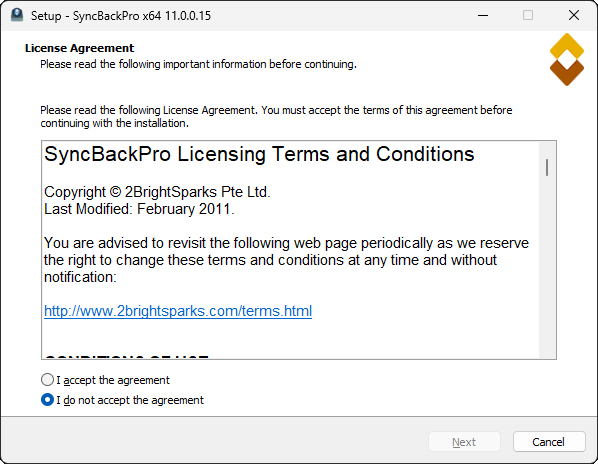
At the License Agreement window, check the I accept the agreement button and click Next.
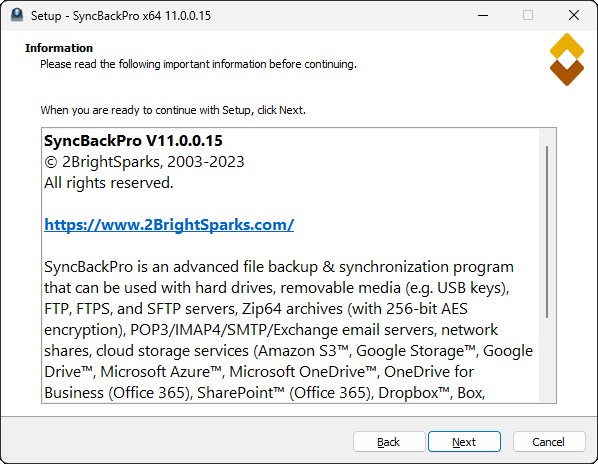
At the Information window, click Next.
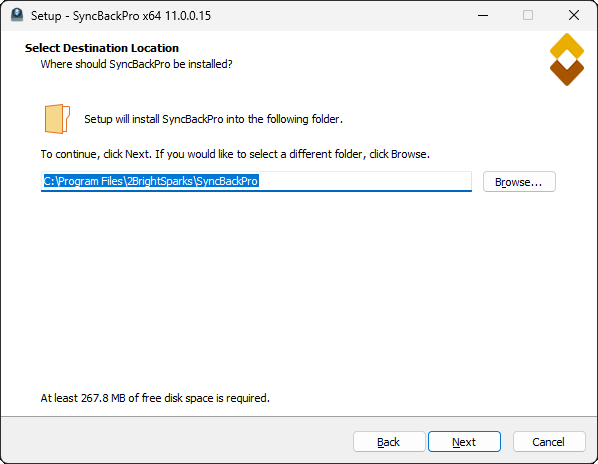
When installing SyncBackPro for the first time, you will be prompted to select a folder path to install the program. We recommend using the default location. Click Next when you are ready to proceed. When upgrading SyncBackPro from an existing version, the installer will skip this Select Destination Location window and install to its existing directory.
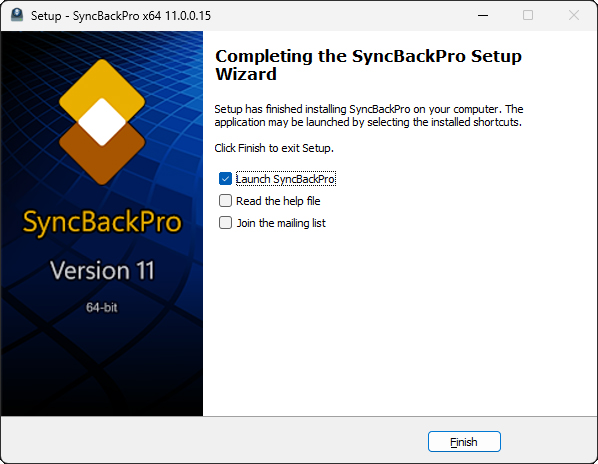
If you would like to receive our newsletter to get the latest news from 2BrightSparks, then tick the Join the mailing list option. Click Finish to close the setup window and launch SyncBackPro immediately.

You will then be prompted if you would like to visit a web page that gives an introduction to SyncBackPro. We recommend you click Yes.
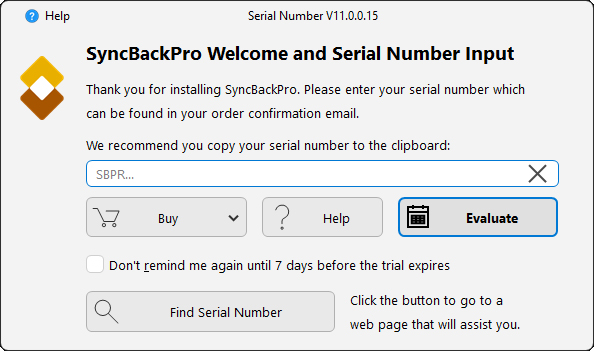
When opening SyncBackPro for the first time, the registration window will appear and ask for a valid SyncBackPro serial number. If you have not yet purchased a SyncBackPro license, you can click on Evaluate button to start the 30-days trial period. The Don’t remind me again…. option can also be checked so that the registration window will stop prompting whenever SyncBackPro starts (until the last 7 days of the trial).
Or if you have already purchased a SyncBackPro license, you can enter the serial number now to prevent the window from appearing again.
Creating and Configuring your First Profile

After SyncBackPro starts, you will see the main interface. To create a profile, click the New button at the bottom-left of the window.
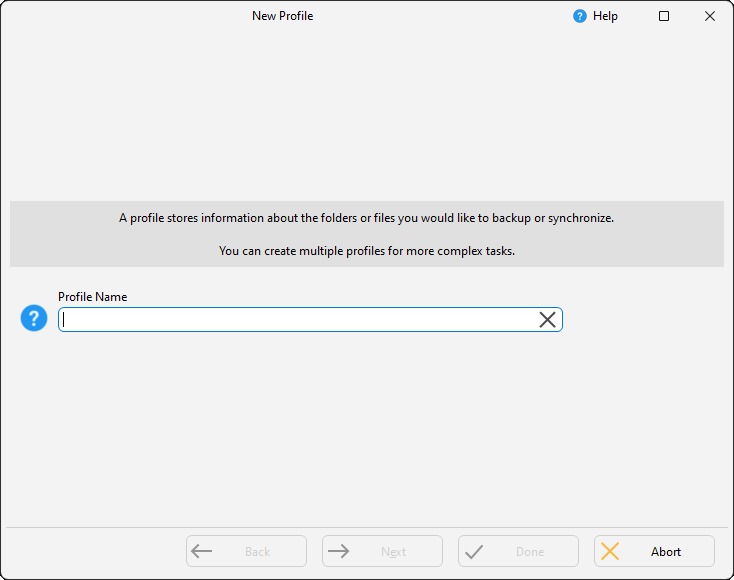
Enter a name for your profile and click Next.
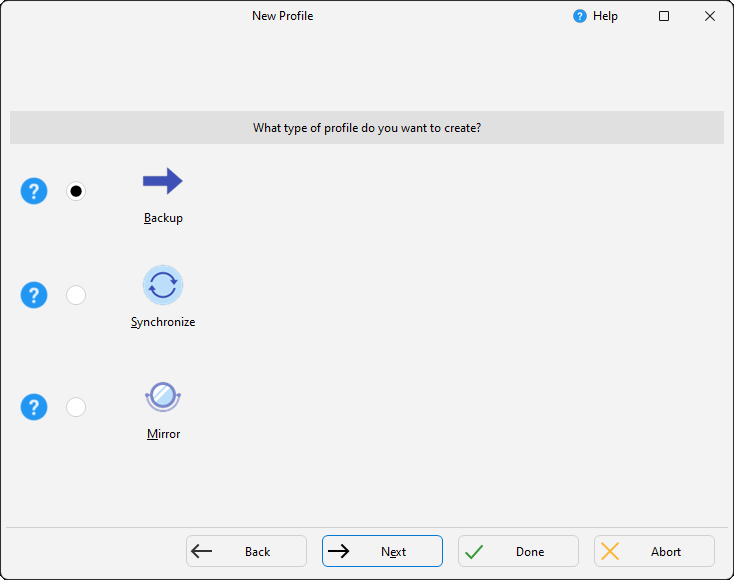
Select the profile type and click Next.
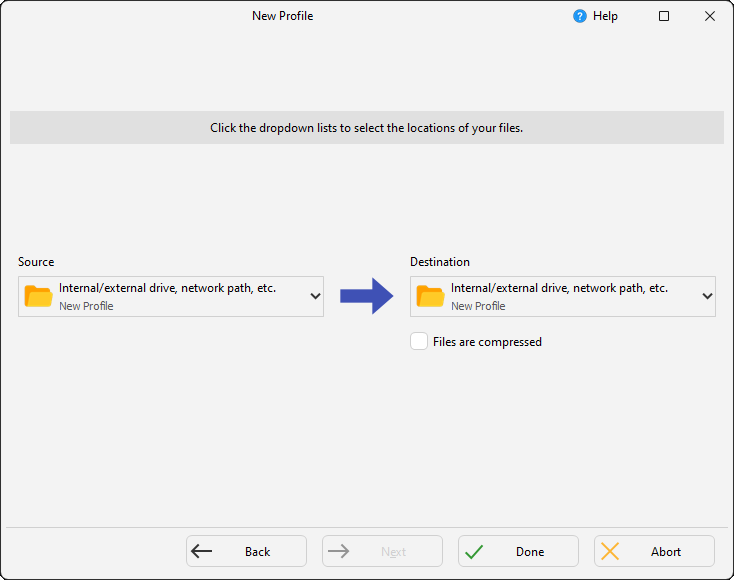
On this window, you can select your Source and Destination resources. Clicking the dropdown menu on either side will reveal all the various resources that SyncBackPro can backup to (or from). However, for the purpose of this demonstration, we will leave both Source and Destination as default and click Done.

Click on OK to close the window.
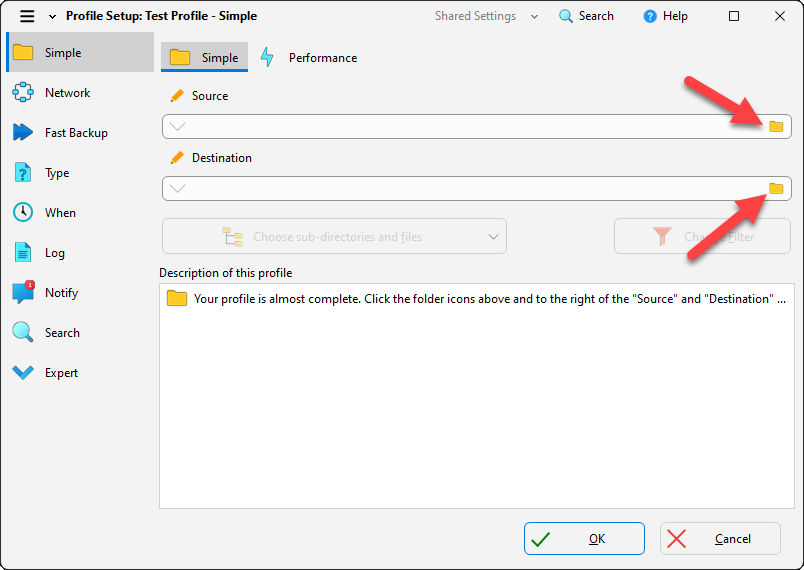
At the Profile Setup window, you need to define where your Source and Destination paths are. So you need to configure them in sequence by clicking on the Folder icons highlighted above.
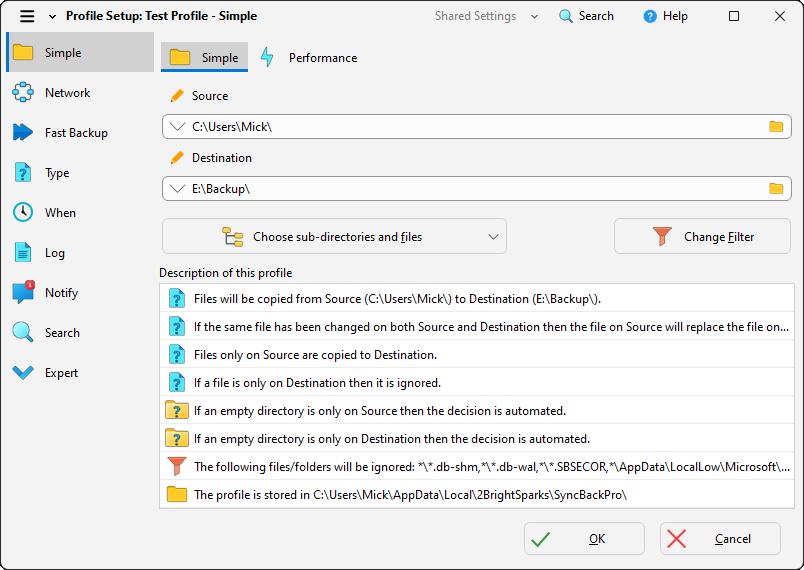
In this example, I have configured the Source as C:\Users\Mick\Documents\ and Destination as E:\Backup\. The Destination in my example is an external hard drive. You can define the Source and Destination paths according to your requirements.
Setting a Scheduled Task for your profile to run automatically
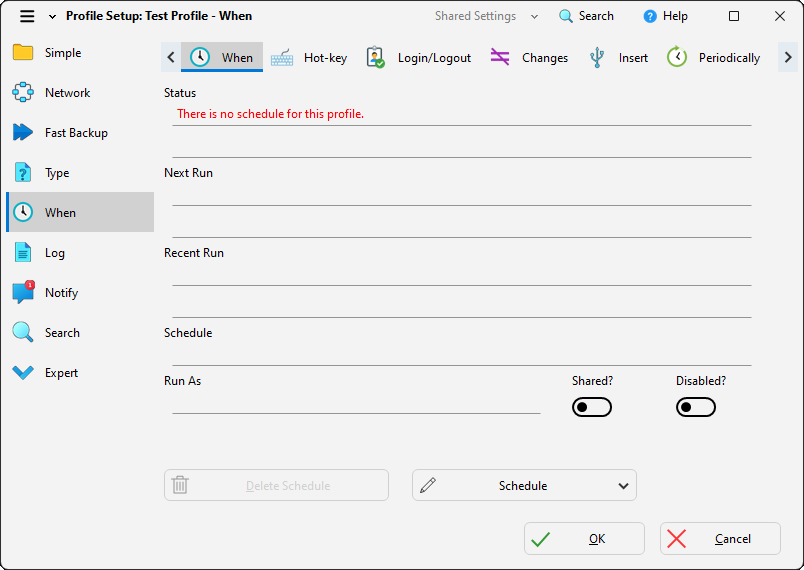
Next, we will create a Schedule for this profile to run once per day. Select When settings page from the left column and click Schedule.
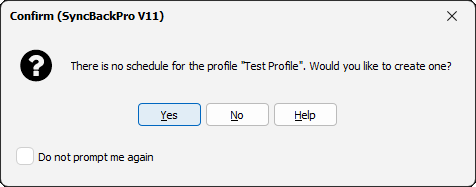
When prompted with this window (if you have no schedule previously created), click Yes to proceed. You may see the following prompt:

If you have no Windows login password (which is unlikely) then you must click Yes, otherwise click No. You are then prompted for your password:

If you have a Windows Logon password, you will be prompted with this window, which requires your Windows User Account Login password to be entered. After entering your password, click OK.
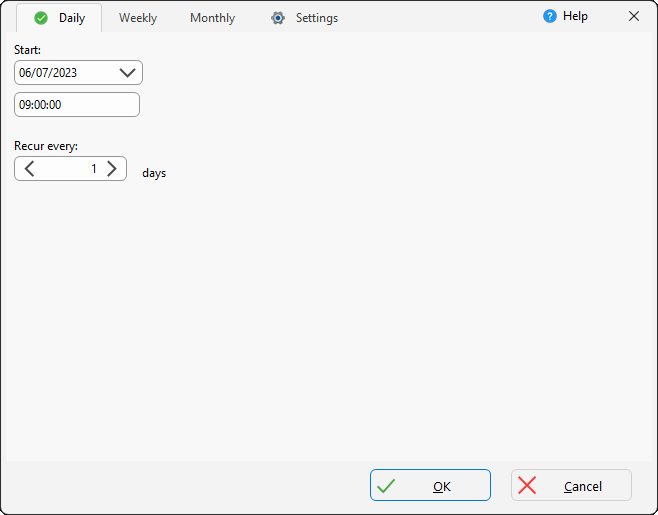
On this window, configure when and how often your scheduled task will run. You can set the task to run Daily, Weekly or Monthly. You can also set the Recurrence day to X number of days. For this example, we have configured the task to run on a daily basis, recurring once every day at 9AM. Click on OK to continue.
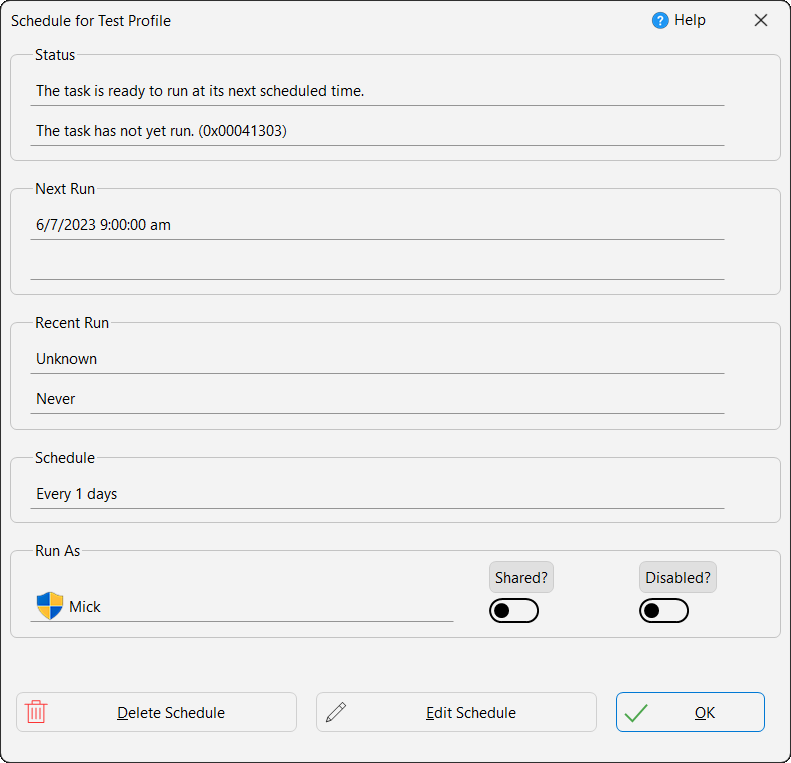
A summary of the Schedule will be displayed for your review. If everything is correct, click on OK to close the window. Then click OK again to close the profile setup window in the background.

At the Confirm popup window, either click Yes to start a simulated run or click No to be taken back to SyncBackPro main interface.

At the main interface window, you will see now that a new profile has been created and scheduled successfully.
Conclusion
Congratulations! You have now learned how to install SyncBackPro, create, configure and scheduled profiles. For Help with SyncBackPro’s settings, you can click on F1 to bring up the contextual Help file. You can also refer to our online support Knowledge Base for assistance.
Noted Customers
© 2003-2025 2BrightSparks Pte. Ltd. | Home | Support | Privacy | Terms | Affiliate Program


