
In this tutorial we show how to use existing shared settings. See our Creating Shared Settings tutorial on how to first create shared settings.

First, select the profile you want to now use shared settings. Next, click the Modify button or press Ctrl-M

In this example we are going to use FTP, so click on the FTP tab on the left
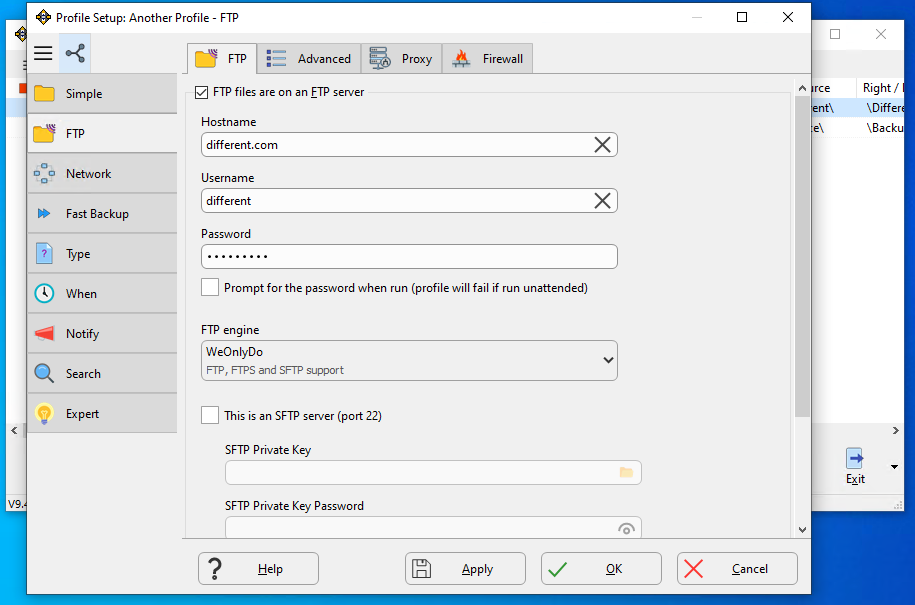
Click on the Shared Settings button at the top-left
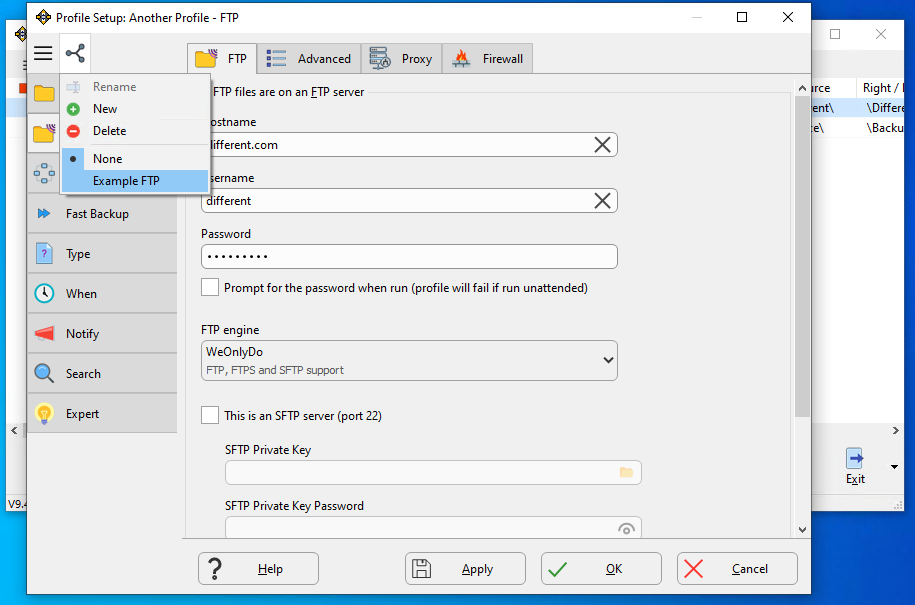
We are going to use the Example FTP shared settings, so select it in the list
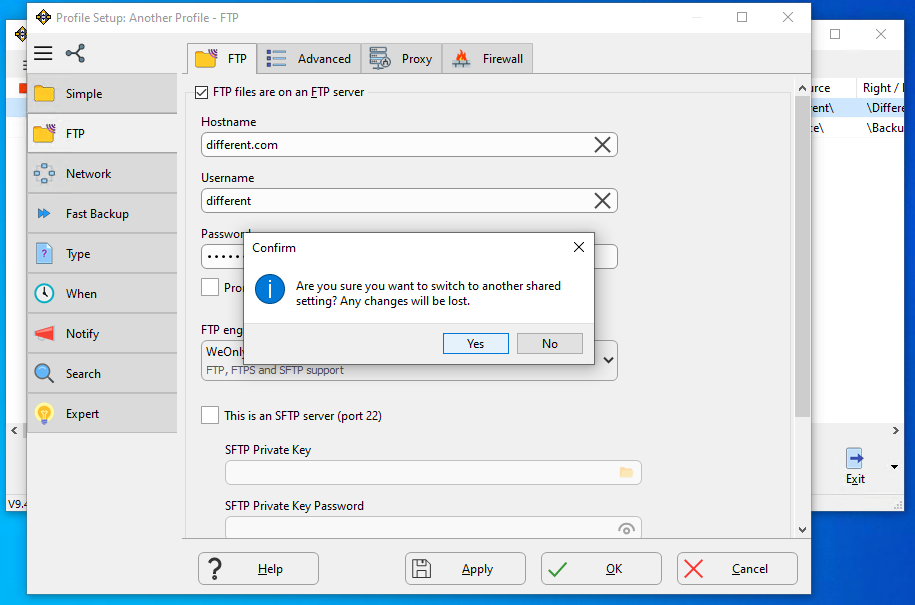
Click the Yes button
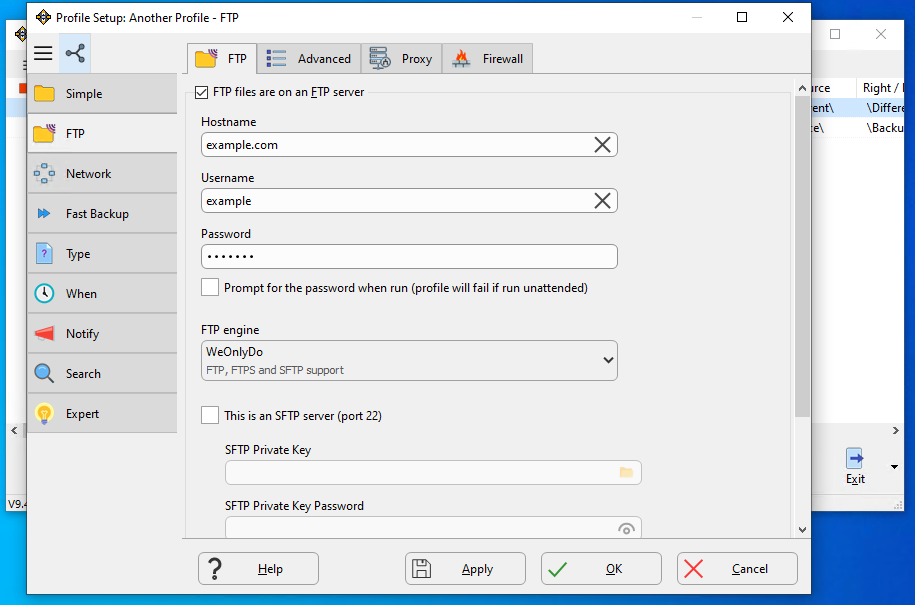
The profile is now using those shared settings (in this example you can see the hostname has changed, for example)
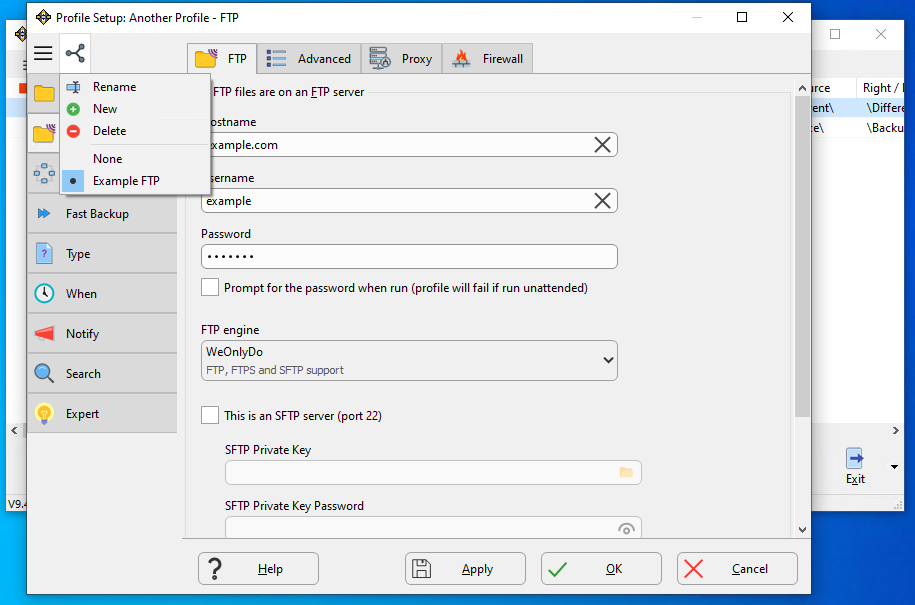
We can confirm this by clicking the Shared Settings button. The shared setting we are using is shown.
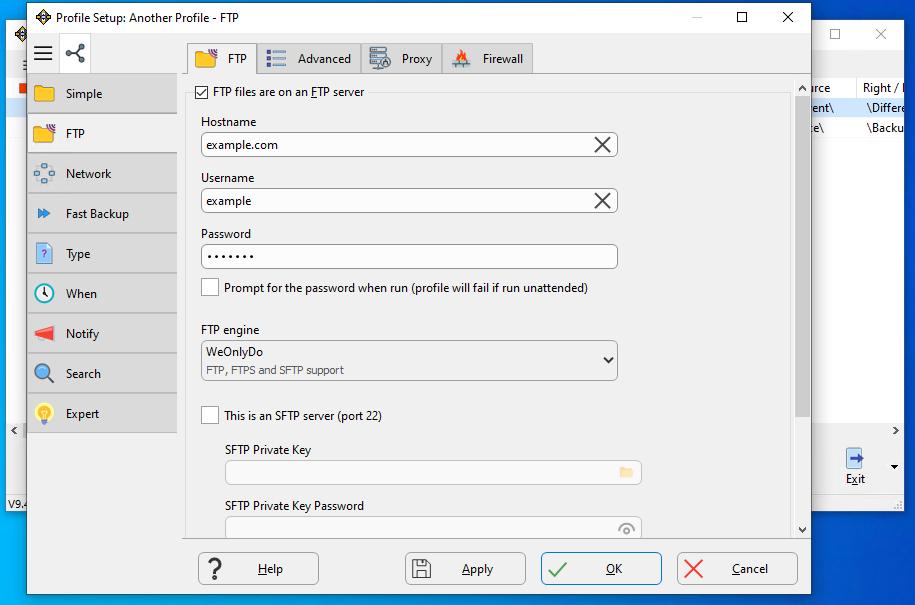
Click the OK button to save the profile.

The profile is now using shared settings. If the shared settings are changed, e.g. the FTP password is changed, then the profile will use the new settings automatically.

